This Dev Diary will not focus on a particular game-system or aspect of the game but on the game design principles that I have been trying to follow when making game design decisions. The most basic idea here is that I am trying to make a game rather than a simulation. This is perhaps the biggest difference between Victoria 3 and Imperialism: Concert of Europe (ICE).
Victoria 3 involves a quite complicated simulation of the entire world in real time. Because of this, the game simulates the world in great detail, and most of what goes on in your nation is automated, as it would simply be too tedious to manage the production of each and every unit of factory production, each and every trade, and the creation of each and every POP. In a simulation, one is more focussed on macro decisions that have an effect on how the automation plays out.
ICE, on the other hand, is designed a bit more like a board game, which has resulted in the following seven principles.
- Simplicity
ICE certainly be would be too big and complex to play as a physical board game and including the actions of all the NPC nations would be incredibly cumbersome. Nevertheless, ICE does represent things in a more board-game like manner. A board game has fairly strict limits when it comes to overall complexity, as the entire game-state must be represented on the table without overwhelming the players. When this happens, everything that is there is included for a reason and anything that is not necessarily will likely be cut. The key is to not add features just because it “sounds cool” to have that feature or because similar games have that feature. Does the feature really make the game more interesting to play, or is it just some kind of gimmick or convention?
- Small Integers
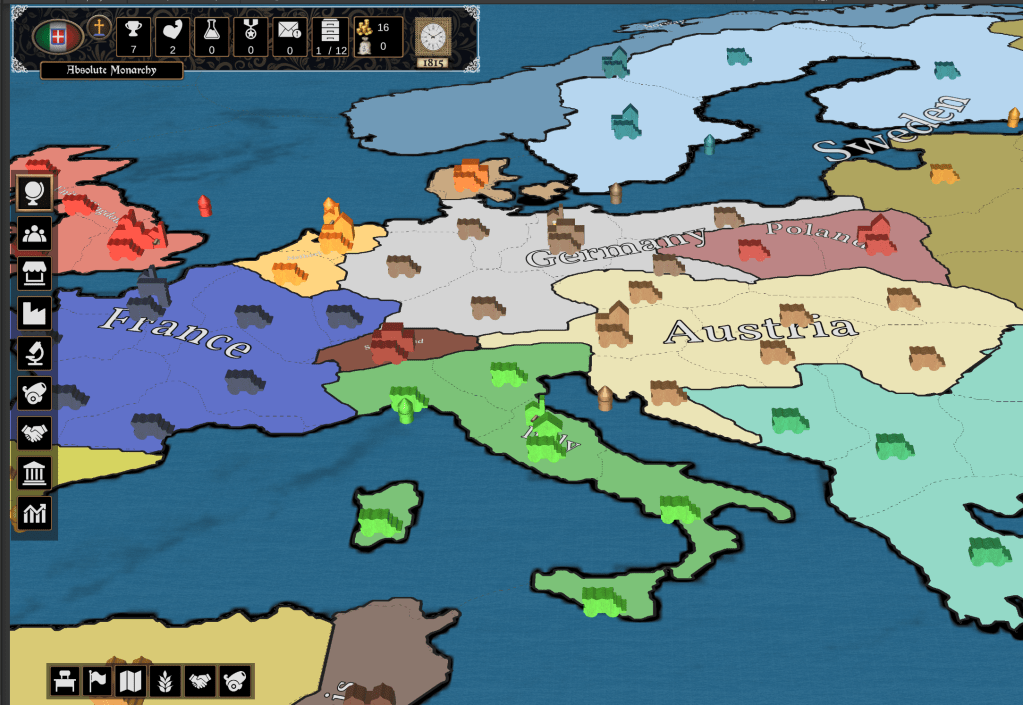
The number of provinces is kept fairly small (something like 220). The number of population units is fairly small, and will usually not grow to more than a few dozen by the end of the game. In general, the numbers are kept small and integer values are preferred. This allows the player to retain a basic awareness of the overall game state, which is impossible in a simulation like Victoria.
- Active Engagement
Keeping the numbers small allows the player to be actively engaged in the administration of their nation, allowing micro-management without tedium (or so I hope!). Again, this is similar to a board game. In a board game, your fraction generally does not do anything unless you do it. For example, the player decides how many goods they want to manufacture or trade each turn.
- Payment Over Maintenance
In a simulation, most resources are likely to be used to maintain things rather than to build or create things. This is, of course, realistic, especially in a game like Victoria. In Victoria, you POPs have various needs that they will try to satisfy each day (or some unit of time). Resources such as food, coal, and oil especially lend themselves to maintenance or people and machines. One thing we have learned from board games, however, is that maintenance is not that much fun. Spending resources just to keep what you have is not much fun. Spending resources to immediately get something you want, however, is fun. For example, in ICE, you pay for the POPs entire needs for its life-span all at once, and do not need to worry about providing it with anything thereafter. Likewise, coal is part of the upfront cost of factories and railroads.
- Transparency
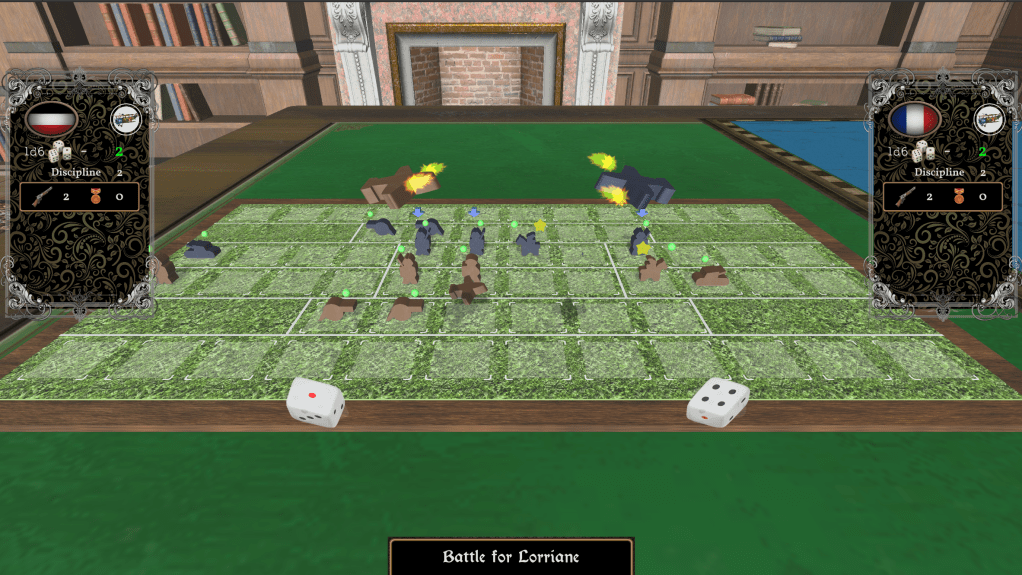
Furthermore, when the player is more active, the rules must be transparent. In a macro-simulation, many players will probably not care to even know the mathematical formulas that determine combat results, so long as they are provided with numbers that give them a fairly good idea of the probability of success. ICE attempts to present the underlying mechanics as transparently as possible. For example, when two units engage in combat, the player is shown the modifiers that are added to the die rolls (as well as the die rolls).
- Shorter Duration
Board games are often of limited duration, they tend to be comparatively short when compared with computer games. This is for two reasons, first turns go by more slowly when actions must be processed by humans rather than by computers, second, people have busy schedules, and it is difficult to schedule a group of people for an event that lasts more than a few hours. Being a single player computer game ICE does not suffer from these two limitations, but when comparing the gameplay experience of a game like Brass: Birmingham with a game like Civilization VI with its 500 turns, the former certainly has some advantages over the latter. In a 500 turn game, most turns do not matter very much. I believe that one can reduce the number of turns significantly without reducing the number of interesting decisions. ICE is currently set to have about 50 turns.
- Watching AI Moves
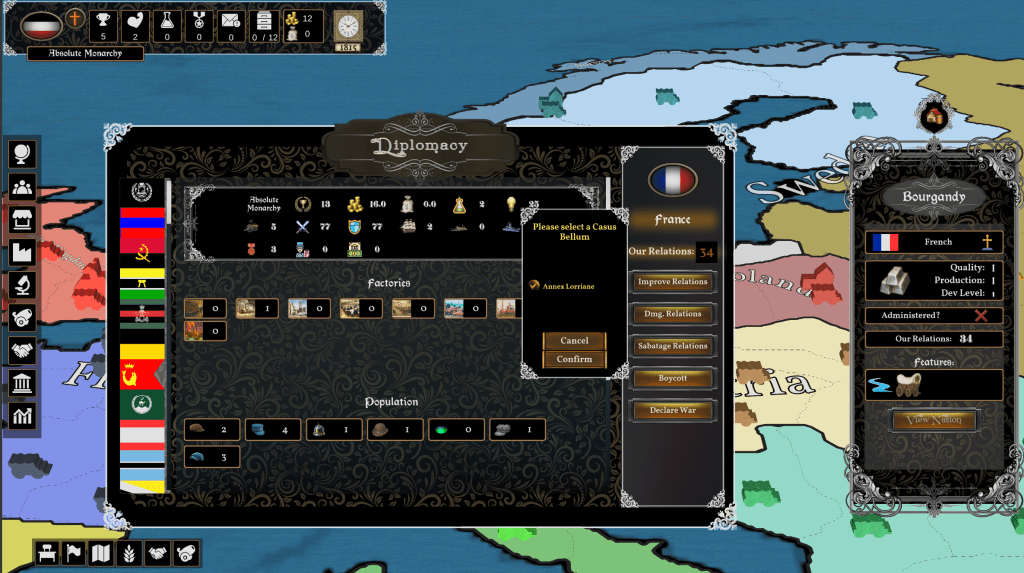
When playing a board game, you take your turn and then see what the other players do, which may affect the decisions you make when it is your turn again. In Civilization VI, on the other hand, you make your moves and then the AI will make its moves very quickly without the player’s notice, the exception being the military movements they make when they are attacking you. In ICE, the player will be shown all AI military movements each round (there is no fog of war) and will be notified of diplomatic actions such as sphering a minor power. There is also the option of being notified of their administrative moves, building factories, researching technologies, etc. of the Modern Nations.
I hope this Diary will give the reader a sense of what kind of game ICE is intended to be. I admit in advance that I do not perfectly follow these principles, but they have served as guidelines during the design process.